I have received dozens of emails over the years regarding how to carry camera gear on a motorcycle. With thousands of miles under my belt, I have, over the years, ruined more than one piece of equipment. But experience has forged a pretty good system that I’ll share, so that you too can enjoy your camera equipment and document your adventures while riding on two wheels.
Before I get into the nuts and bolts of how I actually carry my camera gear I have to tell you a little about my photography background, what photography gear I like to carry and why. I admit that I am a camera and lens addict and there is no cure for this. If there’s a cure I don’t want to know about it. As far as I am concerned, the guy with the most lenses dies the happiest.
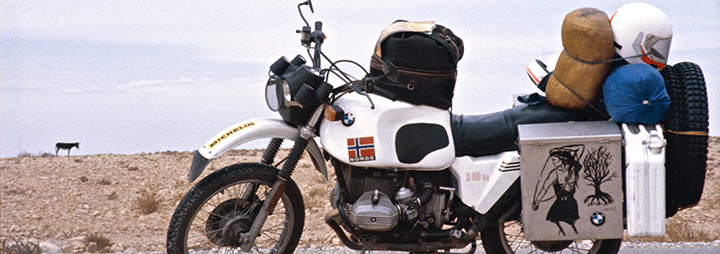
I am professionally trained as a technical photographer. In the late 70’s, I worked for three years for the Norwegian Rescue service, documenting land and sea-based rescue events. Upon completion of my contract, I headed out to see the world on a bike. It was 1982. To support this endeavor, I worked as a free-lance photojournalist, selling stories and pictures to magazines from all corners of the globe. In the end, I published a book about the journey, entitled “10 Years on 2 Wheels”.
Having been involved in producing videos over the last 10+ years, I have become increasingly intrigued by this medium. I find a lot of common techniques and many not so common, but all together fascinating. With that said, the amount of “stuff” that I “need” have mushroomed over the years.
On a 2-3 month GlobeRiders tour, I will typically carry two DSLR camera bodies and 4-5 lenses spanning from wide angle (14mm) to a 300mm telephoto lens, as well as an extender. I also have an extra video camera in addition to the video function of my DSLR cameras. With video, there is the requirement of a sound kit, so I include microphones and a digital sound recorder. Finally, I tuck a small point and shoot camera into my pocket, just in case something pops up unexpectedly.

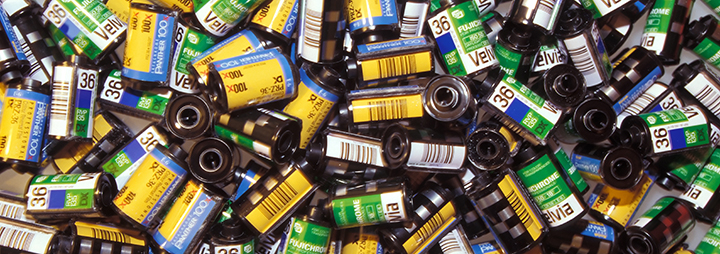
As you all know, digital cameras have made the whole photography experience so much easier. Gone is the need to worry about taking film through those nasty X-Ray machines at the airport or protect it from extreme heat. Gone are those irritating developing delays, leading to weeks or months before you can pour through your images. And making duplicates to share with your friends? That’s downright old fashioned! While I do have to carry chargers, wires, extra batteries and memory cards, in addition to lens and sensor cleaners, I do love digital for its numerous advantages.
Once you have shot photos of every beautiful sunset, unique building and fascinating friend met along the way, what do you do with your full memory cards? Many people bring enough cards for their entire trip. But I need to include in the gear pile a laptop and extra hard drives. It’s more “stuff”, but necessary. I need to see my pictures, edit them and post them on our GlobeRiders online journal while traveling. On a recent trip to Africa I had backed up all of my pictures and video. On my return, I discovered that one of the hard drives had failed. Fortunately for me I had a back up, otherwise I would have lost thousands of pictures and many hours of video.
Since I am traveling on a bike and put a high value to my photography, I have elected to invest in expensive professional lenses and camera bodies. I know that this equipment is made to take a beating not only on the bike, but their weather sealing will keep dust and water at bay much more than a cheaper version of the camera. However, I put the highest value on my lenses and see them as a better investment compared to the camera housing.
Camera bodies come and go with improving technology much more frequently than a lens. Some of my best lenses are 10-20 years old while the camera houses that I use today are no more than three years old. To keep up with the megapixel and resolution sprint and in general the technology of today’s cameras, one can easily change camera housings every three to four years. Some of you reading this story may not be as addicted to technology. Regardless, we have all worked hard to afford the purchase of these wonderful toys. All that is required is taking good care of them so that they will work flawlessly on the next motorcycle journey.

In the early days of my travels I stored my cameras in a tank bag, a great place for the camera to be. They were easily accessible and road vibrations are kept at a minimum with a rubber-mounted tank. But over time, I discovered that I had limited myself significantly in my riding ability by placing a big tank bag right in front of me, creating a distraction and making it almost impossible to stand up when the road got rough.
When I finally ditched the tank bag, I never looked back. What a liberation that has been! I can now stand up and do what I need to do even on the worst of roads.

Replacing the awkward tank bag is a standard camera backpack, mounted on the back seat or on the platform where the back seat would have been. Simple!
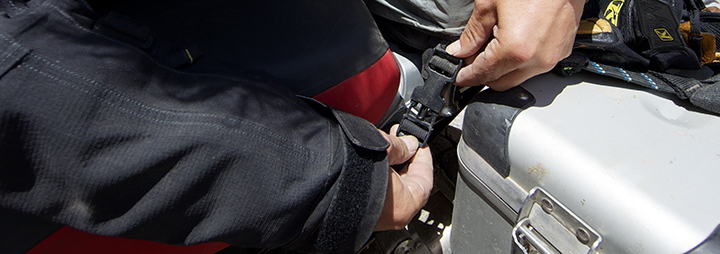
I found that the undersurface of a good camera backpack has an excellent shock absorbing foam pad. All you need to do is modify the pack by adding anchoring points, used to secure the pack to the bike. I use plastic buckles to make it easier to mount and dismount the pack from the bike.


|